Disclosure: As an Amazon Associate, I earn from qualifying purchases. This page contains affiliate links, meaning that I may earn a commission if you click through and make a purchase, at no additional cost to you.
Struggling to get your coloring pages to look the way you imagine? You’re not alone! While colored pencils are accessible and fun, mastering them takes a few key techniques.
Whether you’re working on a mindful coloring page or creating your own masterpiece, these tips and tricks will help you get the absolute most out of your pencils.
First Things First: Know Your Pencils
Before you put pencil to paper, it helps to understand your tools. Every brand uses a different formulation, and they generally fall into two categories:
Wax-based pencils: Colored Pencils, like these artist-quality wax-based pencils, are creamier and softer. They excel at smooth blending and transitions, though they can sometimes leave a shiny “wax bloom” coating if applied heavily.
Oil-based or harder pencils: Colored pencils, like these artist-quality oil-based pencils, lean more matte and hold a sharp point beautifully for fine details, but they can take a bit more patience to blend.
🖨️ Ready to practice?
Search through our collection of free coloring pages and print your favorite!
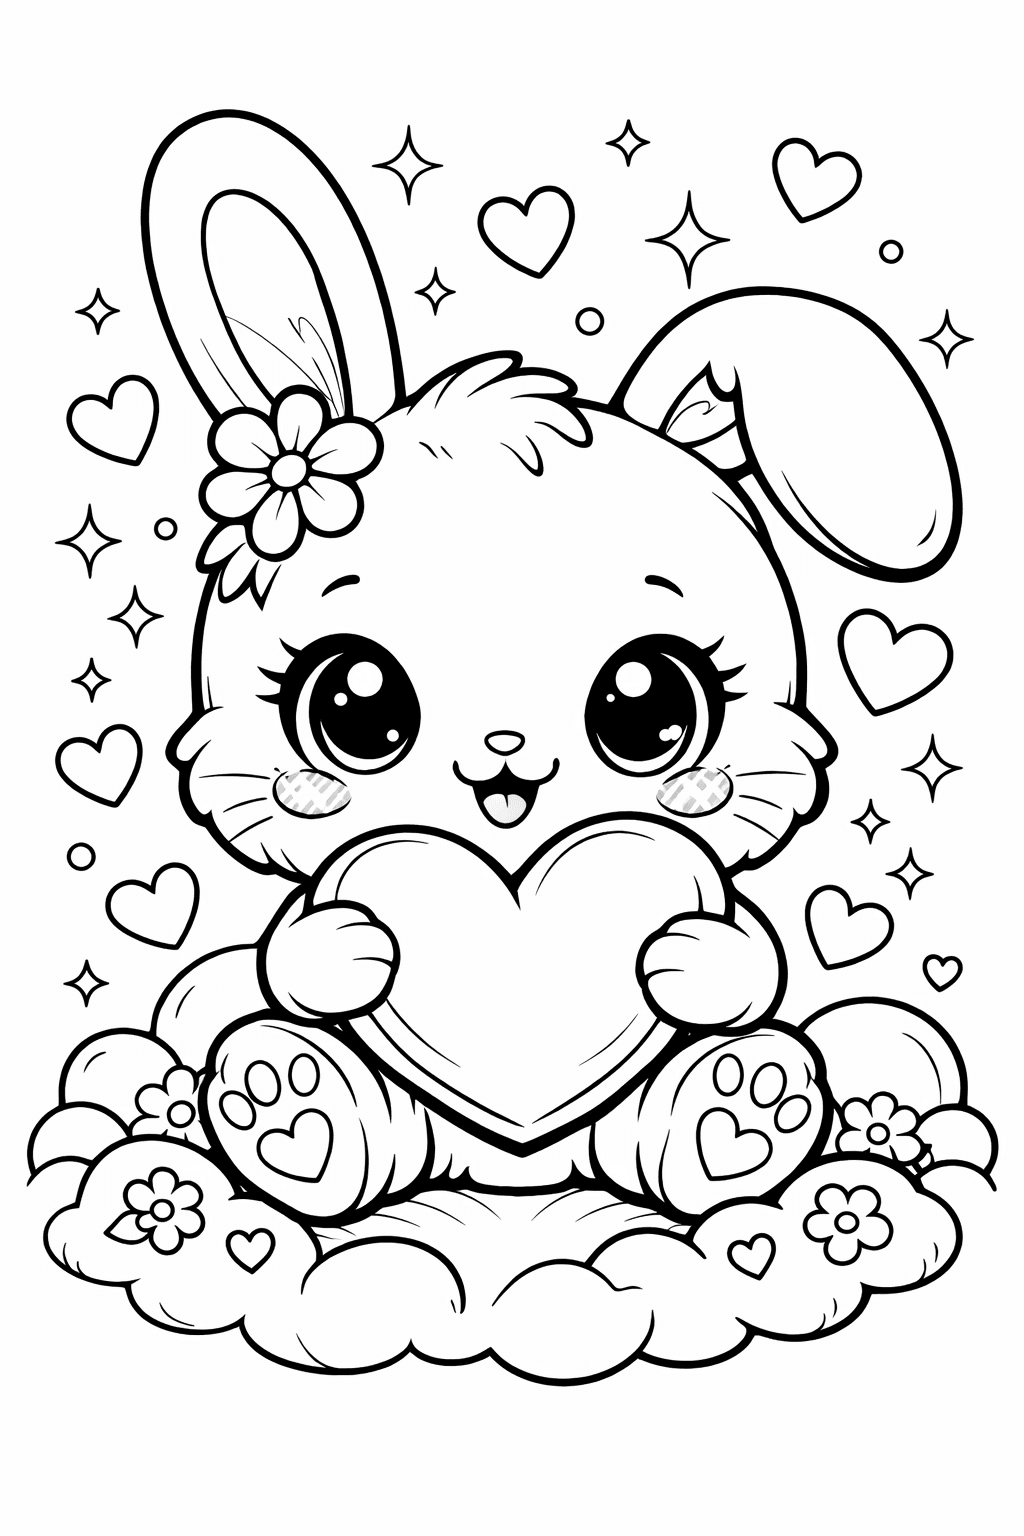
Bunny With Heart
Professional Printing: Looking to up your crafting setup? High quality printers like this wireless home printer on amazon can level up your work. Having a printer that can handle cardstock and produces a fantastic print quality is great for getting professional results.
5 Essential Colored Pencil Techniques
Before we dive into fun hacks using household items and specialty supplies, let’s master the core techniques of pencil shading.
1. The Soft Color Application
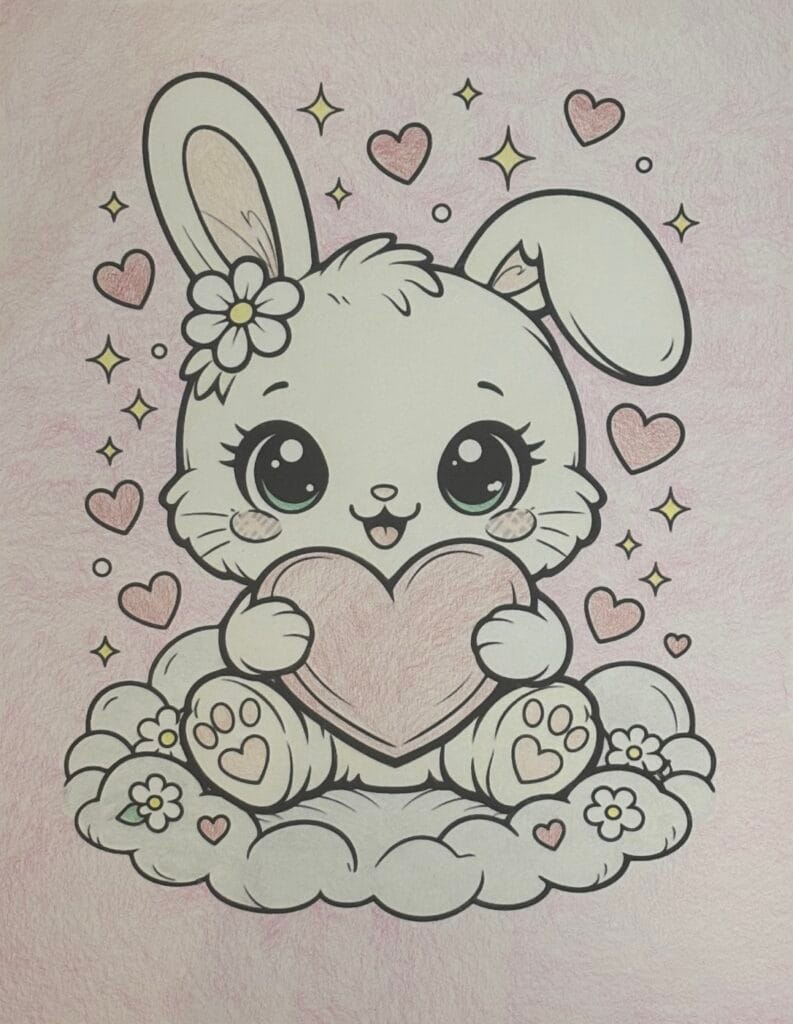
This technique involves using light pressure and holding your pencil at an angle to use the side of the lead, creating a soft, even layer of color.
Perfect for planning pieces, covering large areas, and soft pastel tones, while still giving you the flexibility to erase and change course.
| Pros | Cons: |
| – Covering large areas quickly without hands cramping – Sets up a perfect foundation for detailing – Easy to erase or change later | – Can look patchy if your pressure isn’t perfectly even – Colors will look less vibrant |
Pro-Tip: Use small, circular motions rather than straight lines. While the white of the paper will still peek through, this method helps create a more uniform distribution of color.
2. The Vibrant Color Application
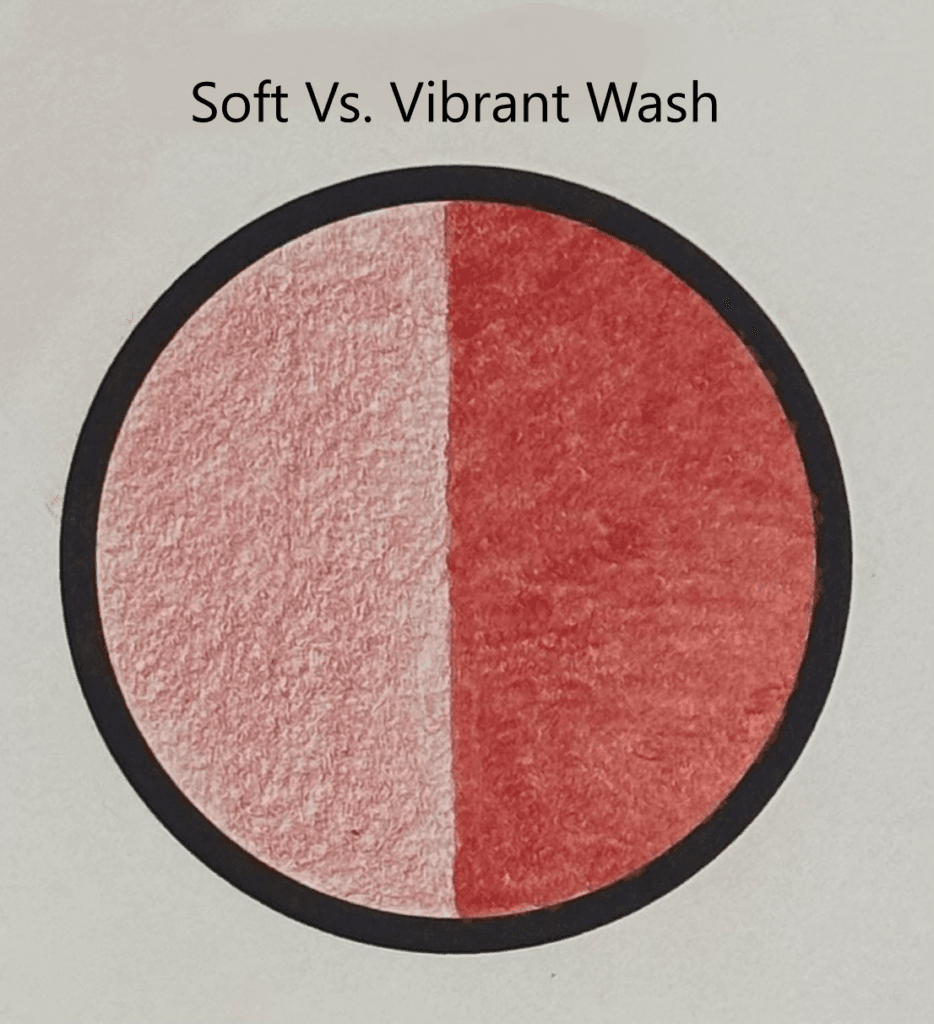
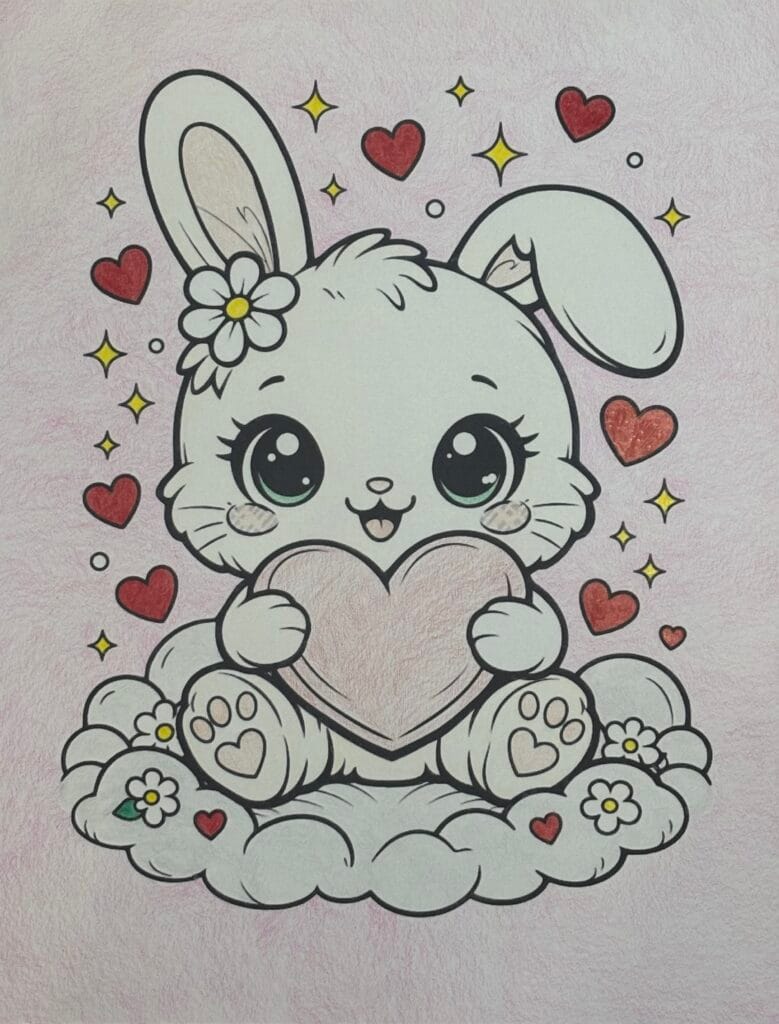
Ready to turn up the intensity? By applying heavier pressure, you can smooth out the texture of the paper (burnishing the paper) and eliminate those tiny white gaps.
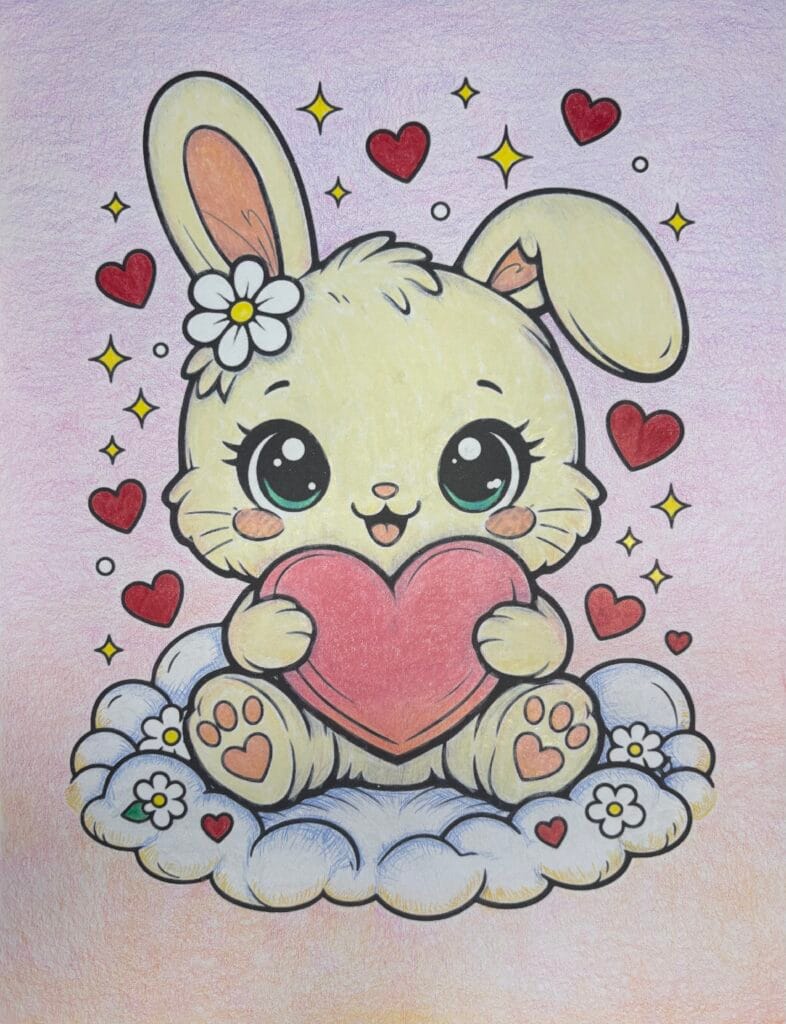
See how vibrant the hearts and sparkles look with this technique. Perfect for uniform details and pops of color!
| Pros | Cons |
| – Creates bold striking colors – Completely eliminates white spaces | – Hard to make changes once the paper is flattened – Runs through your pencils quickly – Can cause hand fatigue |
3. Blending With Layers
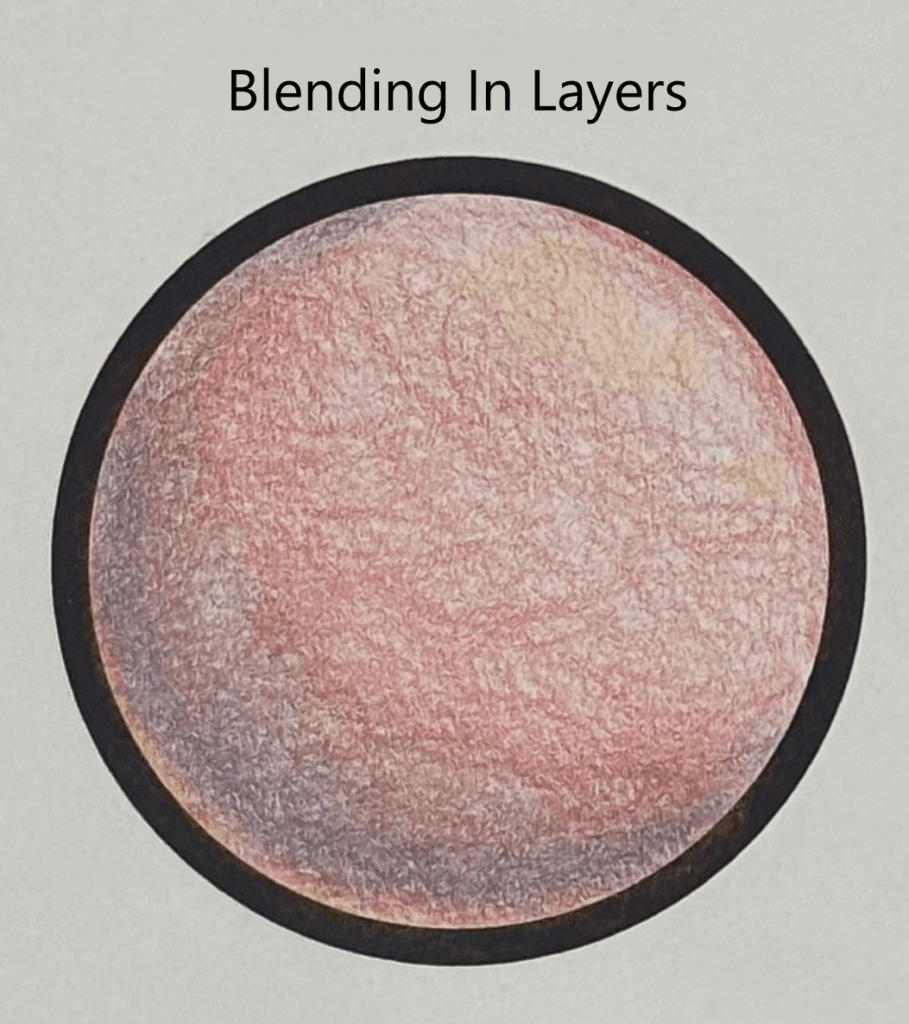
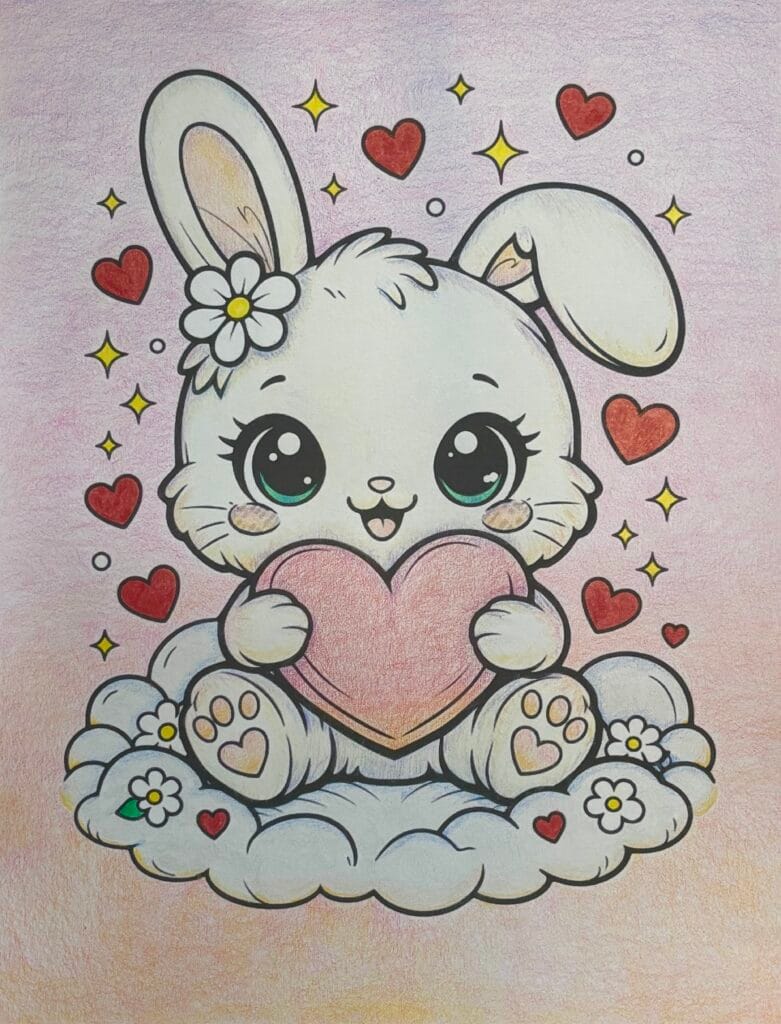
If you try to blend two colors by pressing down hard right away, they will fight each other. Instead, use the Soft Color Application method to slowly build up overlapping layers.
Blending in layers allows for smooth gradients like this sunset inspired background, these gently shaded spots, and warm highlights.
| Pros | Cons |
| – Gives you granular control over color gradients – Allows you to mix entirely new shades – Creates a smooth, professional finish | – It is a slow, delicate process that requires patience |
Pro-Tip: Use directional application of pigment to get different textures and blends. A feathered section connecting 2 colors is great for a more obvious/textured transition while uniform circular application is great for smooth gradients.
4. Burnishing The Paper
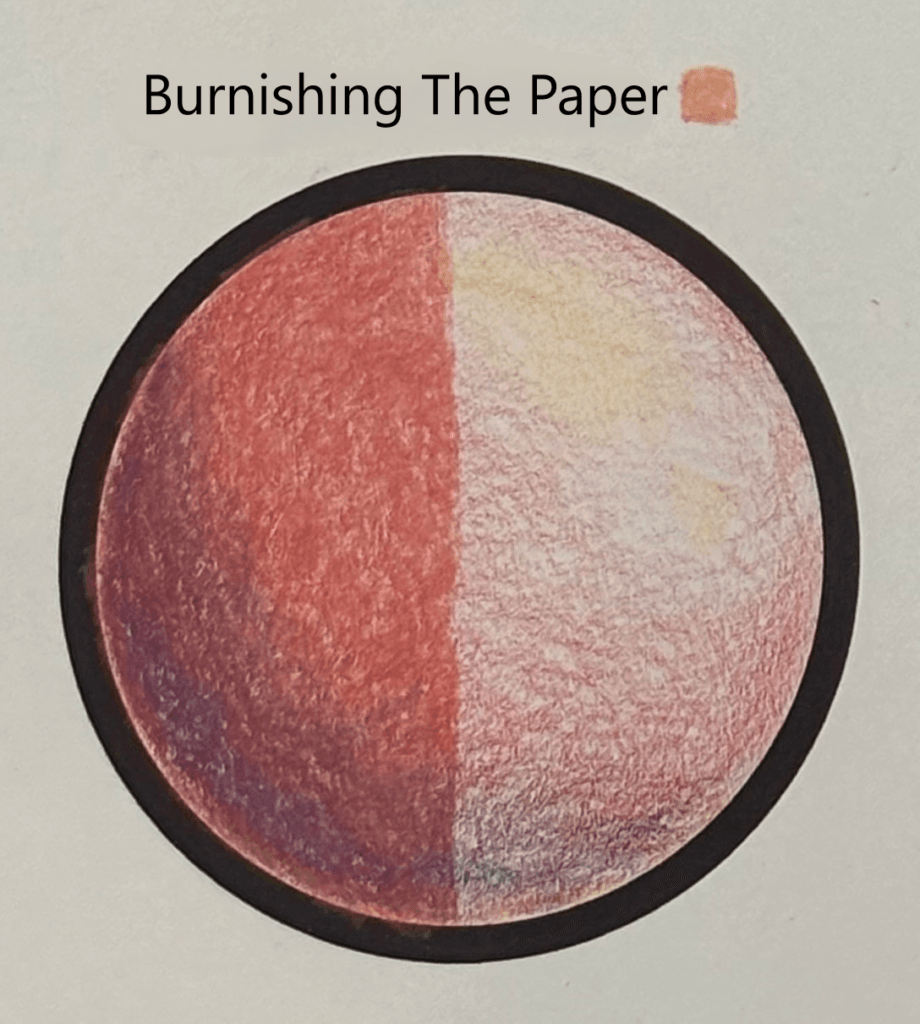
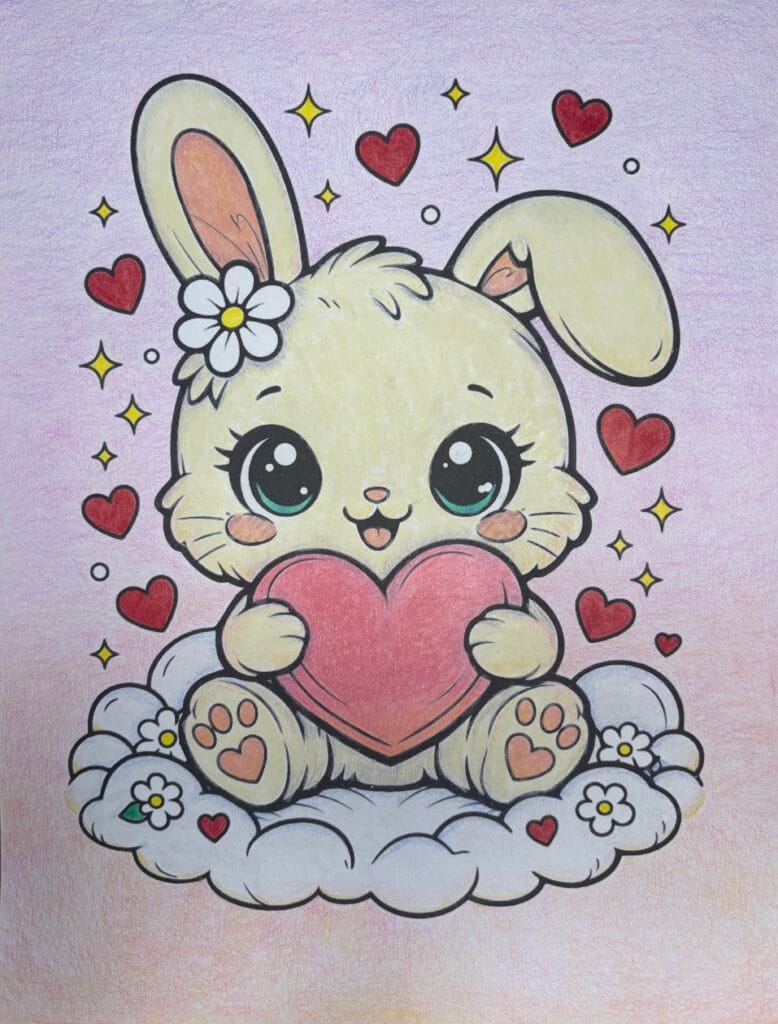
Most coloring books and printer paper contain a bumpy texture (called the “tooth”). Burnishing is the process of using heavy pressure—via a light-colored pencil, a dedicated colorless blender, or a blending tool—to completely smash the paper’s texture flat, sealing the pigments together.
While similar to a vibrant color application, burnishing over previously placed layers is a powerful technique that creates a smooth, polished finish that seamlessly blends your colors.
See how much more vibrant the bunny and large heart are while still retaining the blended colors we planned out earlier.
| Pros | Cons |
| – Erases white spaces – Gives the art a sleek, vibrant, almost digital appearance | – Can be tiring for your hands – Colors can bleed more than intended – Slightly shifts the color values, meaning you have to predict how the final look will turn out |
5. Hatching And Cross Hatching
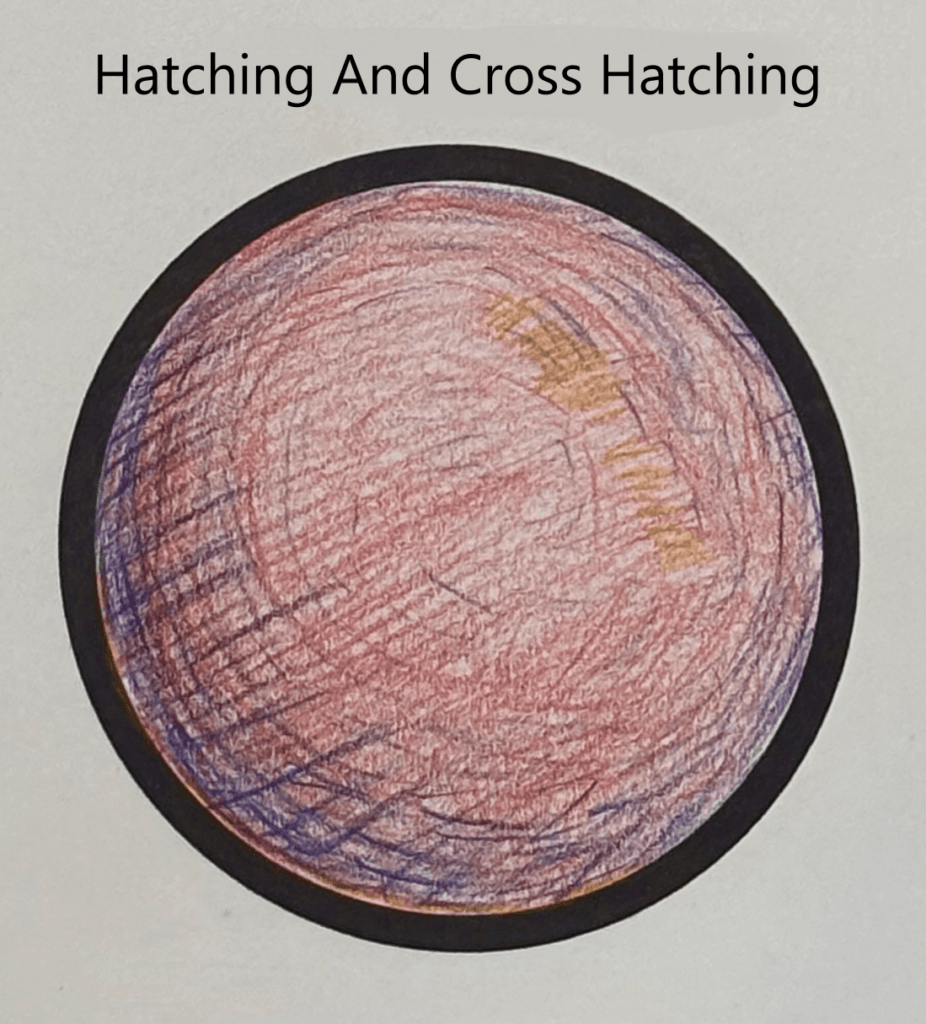
Borrowed from sketching and pen-and-ink drawings, hatching involves drawing parallel lines with careful spacing, and cross-hatching involves intersecting a first set of lines with a second set of lines in the opposite direction.
The cloud gets some useful depth with the inclusion of cross-hatching while also being texturally different from the bunny. This contrast helps separate the elements, making both the bunny and cloud more distinct!
| Pros | Cons |
| – Fast to execute – Creates shading – Adds a unique, stylized texture to your piece | – Requires a steady hand for consistent spacing – Requires frequent pencil sharpening |
From line weights and spacing to following contours and color selection, there is a lot to explore with this technique to add charm.
Conclusion
From placing vibrant colors, to perfect blends, you can build your skills with colored pencils and transform your art. Utilizing a variety of techniques unlocks more choices and expands your creative control, so you can get the most out of your tools.
Ready to put theory into practice? Print a coloring page, choose your favorite colors, explore the possibilities, and level up your coloring game!