Disclosure: As an Amazon Associate, I earn from qualifying purchases. This page contains affiliate links, meaning I may earn a commission if you click through and make a purchase, at no additional cost to you.
Looking for a fun way to personalize your water bottle, phone case, or laptop? Custom stickers are the perfect way to show off your unique vibe! We offer a massive selection of free sticker printables to match any aesthetic, but picking your favorites is only the beginning.
Turning those designs into real, peelable stickers is a fun and easy craft. Here is everything you need to know to print, cut, and apply your new favorite decals.
🧰 The Supplies List
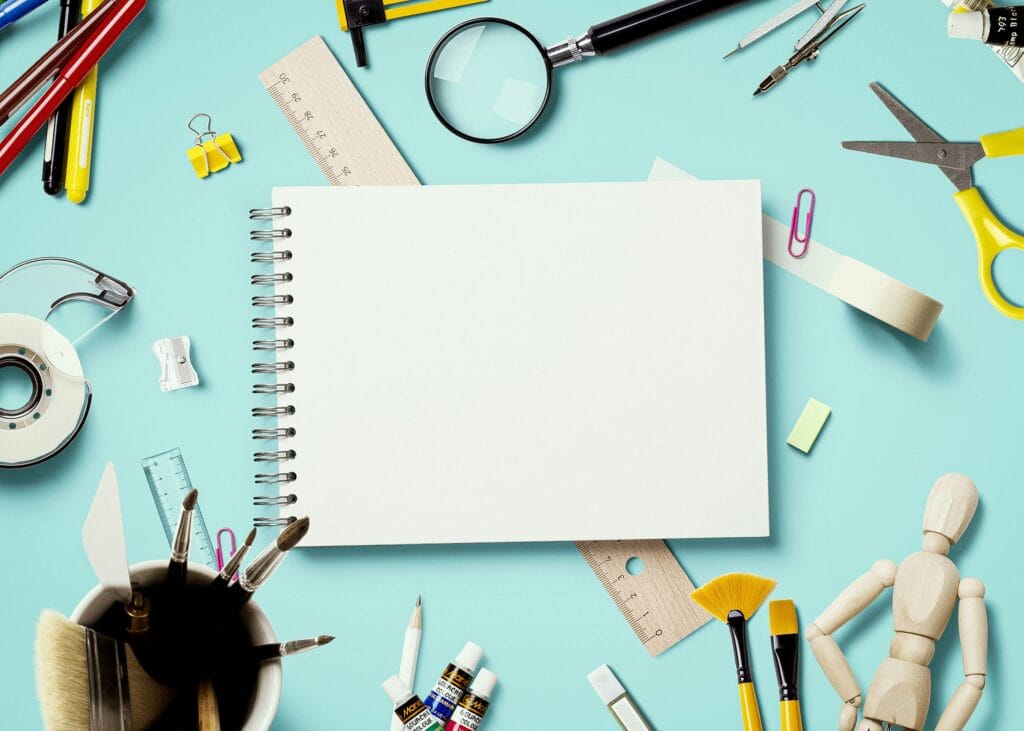
Before you hit print, make sure your crafting station is ready to go. You will need:
- A color printer
- Sticker paper (or regular printer paper if you are using our DIY hack below!)
- Craft scissors or a precision craft knife (like an X-Acto knife)
- If using regular paper: Clear packing tape and parchment paper
Looking for supplies? Check out this matte sticker paper on Amazon!
🖨️ Step 1: Print Like A Pro
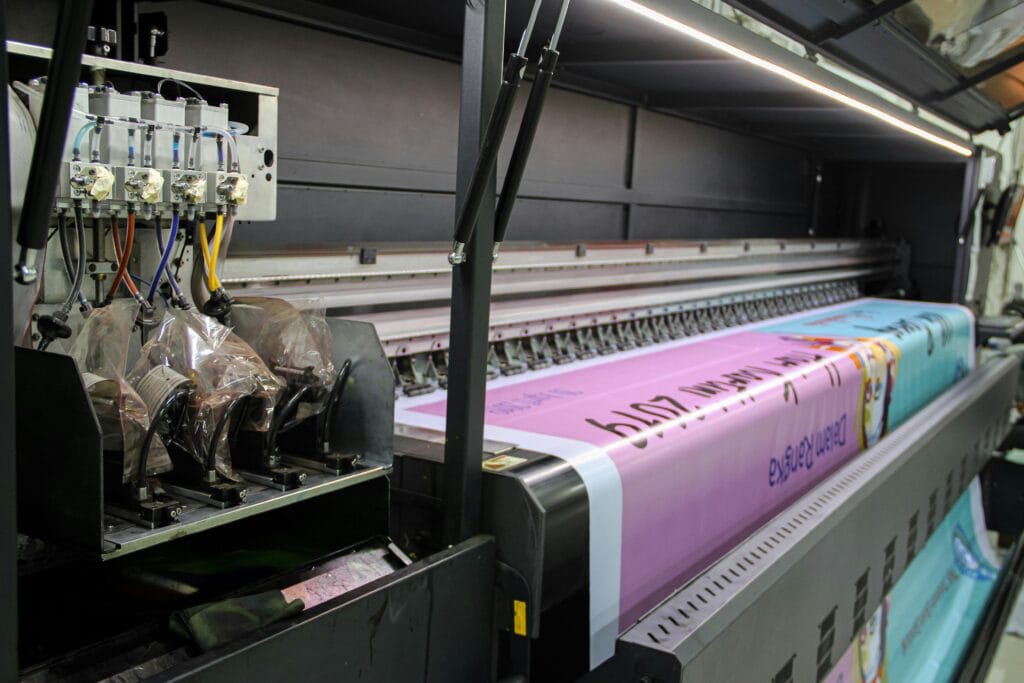
- Check your tech: Ensure your device is connected to the printer and that you have enough color ink.
- Load the paper: Place your compatible sticker paper into the tray. (Regular printer paper works too!)
- Preview and print: Click the print icon on your chosen printable. Always check the print preview and adjust your scale or quality settings if needed.
- Hit print and admire your fresh designs!
Pro-Tip: Not sure which way to load your sticker paper? Run a test print using a blank sheet of regular paper. Draw an “X” on one side, put it in the tray, and print. This saves you from wasting valuable sticker paper or ink while figuring out your printer’s orientation!
✂️ Step 2: Cut It Out
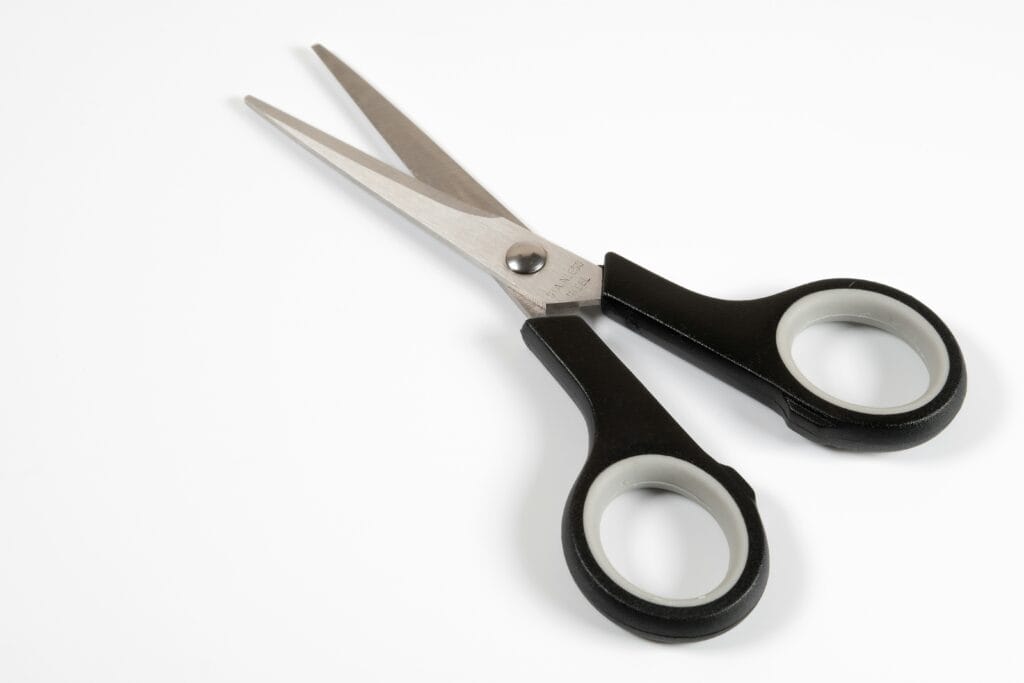
Once your printables are ready, it’s time to cut them out. A standard pair of craft scissors works beautifully for most shapes. If your sticker has fine details or intricate borders, a precision craft knife is a great option. (Always exercise caution and use a cutting mat when working with sharp objects!)
Waterproof Note: If you’re placing your sticker on a water bottle, seal it with a sheet of clear vinyl laminate before cutting to protect the ink from splashes!
🧼Step 3: Make It Stick
If you printed directly onto sticker paper, congratulations—your stickers are ready to peel and stick! To help the sticker last, clean the surface with some mild soap and water or a bit of rubbing alcohol mixed 50/50 with water. Let the surface completely dry before placing. If you notice any air bubbles use the edge of a credit card to help remove them by pushing them from the center to the edge.
🕵️♂️ The DIY Sticker Hack (If using regular paper):
Don’t have sticker paper? You can easily turn regular paper cutouts into high-quality stickers using items from your kitchen drawer!
- Prep the base: Place a strip of clear packing tape flat onto a piece of parchment paper. (If your sticker is large, slightly overlap a few strips of tape to create a wide enough base).
- Place your design: Put your paper cutout directly on top of the clear tape, design facing away from the paper/tape. Ensure there is enough tape around the edges to create a border.
- Seal it in: Place another piece of clear tape carefully over the top of your cutout. Your paper design should now be completely sandwiched between two layers of tape. Use a credit card to smooth it out and remove any air bubbles.
- Cut and peel: Cut out your new sticker, leaving a small tape border around the edge of the design. When you are ready to use it, simply peel the parchment paper off the back to reveal the sticky underside!